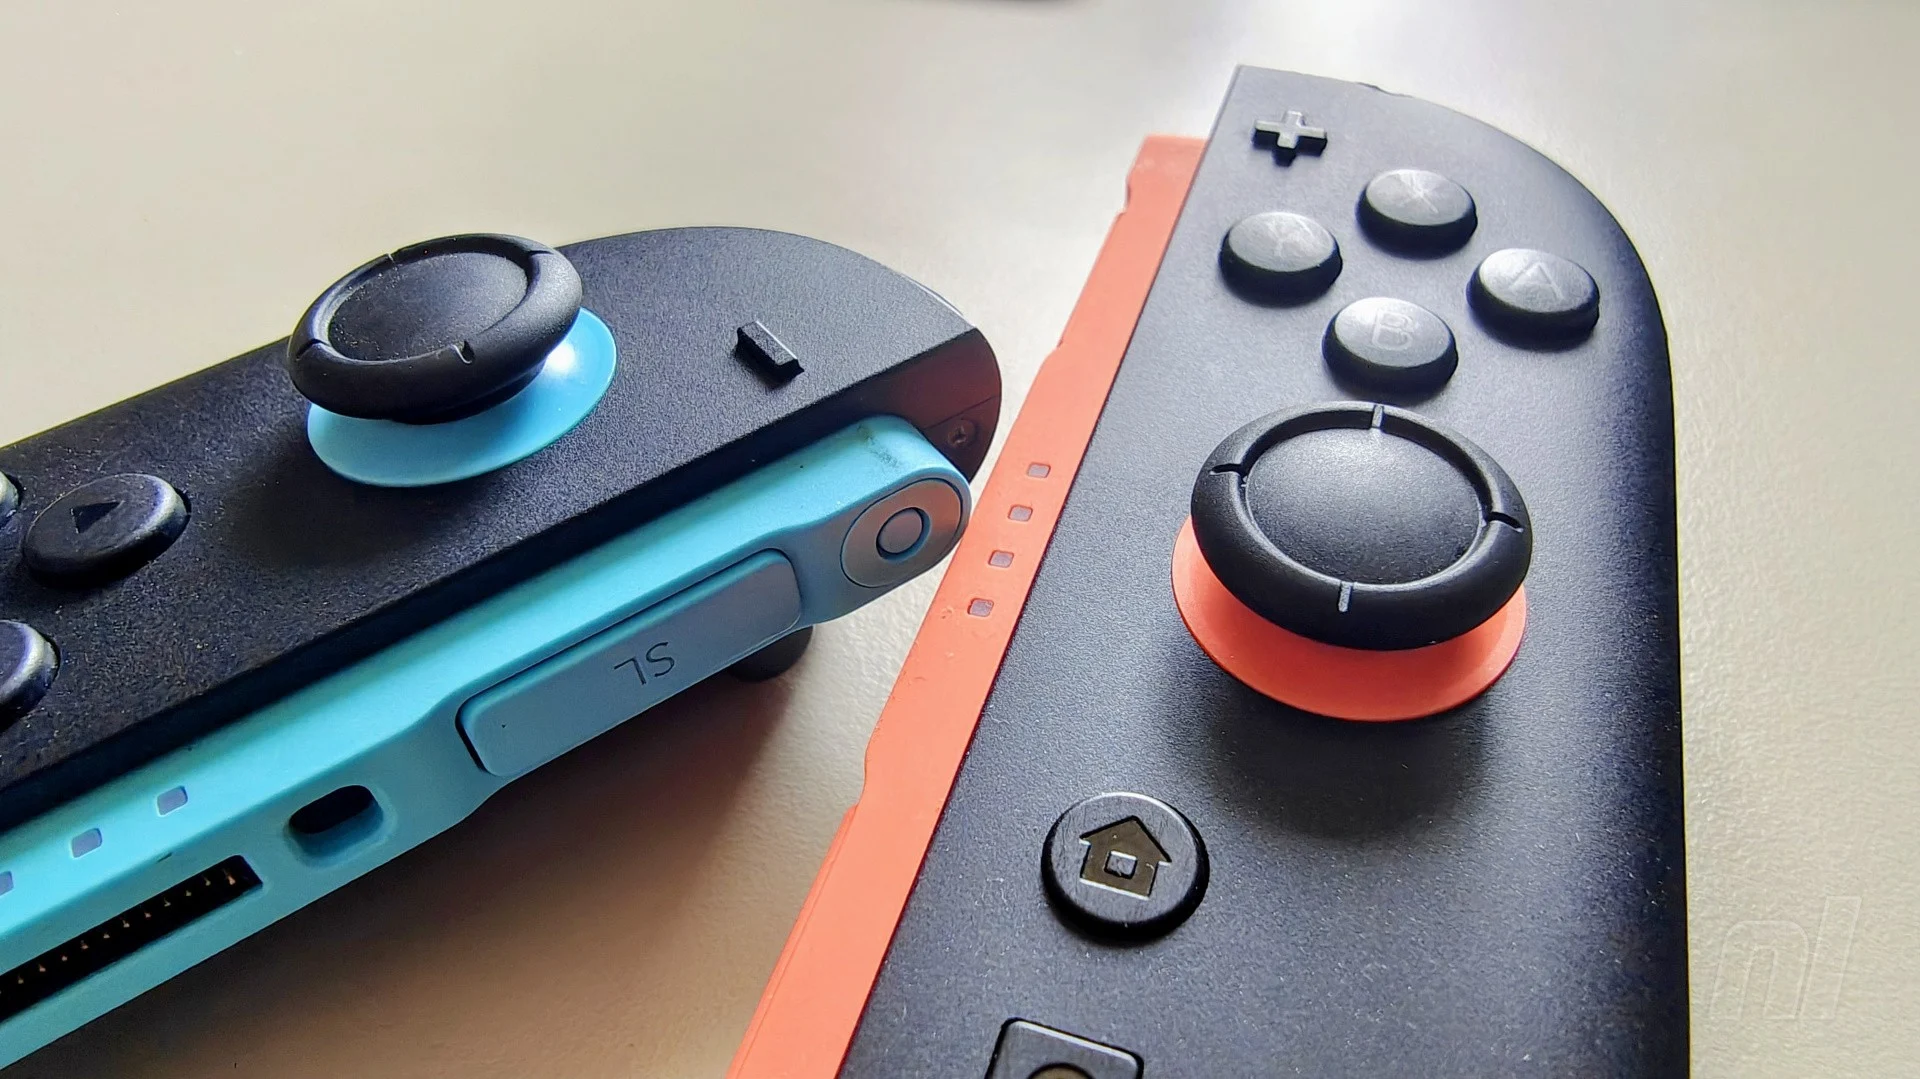

Switch 2’s Joy-Con seem to be faring much better than on the original Switch, which was plagued with stick-drift issues since its launch in 2017.
At the time of writing, there are seemingly no widespread issues with sticks becoming faulty and drifting during gameplay.
Still, you may find yourself in need of replacements regardless. Perhaps your sticks no longer work thanks to some accidental damage, or maybe you just want to future-proof your console with some Hall Effect or TMR (Tunnelling Magnetoresistance) alternatives – the sticks do, after all, use similar technology to the original Switch.
Either way, this guide will show you exactly how to crack open your Joy-Con 2 and replace the analogue sticks. It goes without saying that if you’re not feeling confident about disassembling your controllers, seek a professional to help you out. Otherwise, crack on.
How to prepare
The process for replacing your Joy-Con 2 sticks is mostly the same for the left and right controllers. There’s an important additional step we’ll need to take with the right (red) Joy-Con later, and this will be made clear with specific steps and images.
Let’s start with what you’ll need:
- Replacement analogue sticks (see the end of the guide for options)
- A small Phillips (crosshead) screwdriver
- A small tri-wing (‘Y’-shaped) screwdriver
- A pick, plastic spudger, or small flathead screwdriver to help pry apart the Joy-Con casing
- A small pair of tweezers
- A receptacle to keep the tiny screws safe while you work
Once you’ve got everything sorted, you should be ready to begin.
Quick tip before you start, though: it’s good practice to place screws and components on your desk in the order in which they were removed. This will help with reassembly, as you can simply work backwards.
So let’s get started.
How to replace your Joy-Con 2 sticks
1. First, remove the two small screws located above and below the blue strip using a tri-wing screwdriver.
When removing screws, be sure to ensure the screwdriver is ‘sitted’ properly and press down firmly when turning. Stripping away the metal is easy and can make this whole process much more difficult.

2. On the opposite side, you’ll need to remove the plastic strip. Insert a pick into the opening just below the bumper and pry the top of the strip off. Slide the pick down the side of the casing, slowly pulling it away from the controller.

3. Under the strip, you’ll see two more screws. One requires a tri-wing screwdriver, and the other a crosshead. Remove these.
4. Insert your pick into a small seam, holding the back cover in place. Again, slide it down and pry it away slowly. Eventually, you’ll be able to use your fingers to pull the cover off, but don’t yank it as this may damage the battery and rumble motor wires.
5. Use your fingers to disconnect the rumble motor wires (blue and white), being careful not to damage the wires with your nails.

6. Disconnect the battery connector holding the red and black battery wires. You may want to use a pair of tweezers here, as the connector may be too small to grasp with your fingers.
7. Remove the release button.

8. Insert a pick between the bumper and trigger buttons, and pry the trigger towards you until it pops out.

9. Under the trigger, you’ll see a bracket used to house the release button. Use a crosshead screwdriver to remove the two screws, then pull the bracket off.
10. Use a crosshead screwdriver to remove three screws holding the midframe in place. Two of these are located to the right of the battery, and one can be found just below the bumper.

11. Pull the bumper button out.

12. You’ll see a trigger board above the battery. Remove the single screw using a crosshead. Once this is out, gently pry the board up until it pops out. It will remain attached for now thanks to the ribbon cable.
13. Carefully remove the entire midframe with your fingers.
14. Now to remove the trigger board. You’ll see a locking flap keeping the ribbon cable locked in place. Lift this up, then use tweezers or your fingers to gently remove the board.
15. Now do the same with the ribbon cable connecting the analogue stick.

16. Use a crosshead screwdriver to remove five screws, keeping the main board in place.

17. This is where the process diverges for the left and right Joy-Con.
17a. Let’s start with the left (blue) Joy-Con. Insert a spudger underneath the board and lift it up until you can get your fingers underneath. Lift the whole thing up and over, being careful not to damage the ribbon cable for the analogue stick along the way.
As you’re lifting, you’ll see a piece of black tape stuck connecting the board to the analogue stick. Gently pry it away from the analogue stick as you’re lifting the board, being careful not to break it.
There will be two more ribbon cables keeping the board attached. You don’t need to remove these, but be careful not to crease or break them.
17b. Now for the right (red) Joy-Con. Those two ribbon cables I just mentioned will need to be removed here, since their shape will not allow the board to be lifted over. Lift the locking flaps for both and pull them out with tweezers. Now remove the board completely.
18. Use a crosshead screwdriver to remove the two screws holding the analogue stick in place. Once they’re out, you can remove the stick and insert your replacement.
19. Now work your way back through each step of this guide to reassemble your Joy-Con 2. Be careful when reattaching any ribbon cables; make sure the locking flap is up, then flip it back down when the cables are attached.
FAQs
Where can I find replacement Joy-Con 2 sticks?
There are quite a few options available online already, but we’ve only used one so far, and so that’s the one we’ll be recommending.
The Gulikit TMR Sticks can be purchased via Amazon in the UK and US for £16.99 / $19.99. Like all TMR sticks, they use a non-contact sensing method, meaning there’s no friction between materials and therefore minimal risk of stick-drift in the future. They’re also said to be more accurate and power-efficient.
As for how they feel to use, well… they’re practically identical to the regular Joy-Con 2 sticks, as far as we can tell. That’s kind of what you want, right? They look identical too, except for a different colour ribbon cable, so don’t go getting them mixed up!
Please note that some external links on this page are affiliate links, which means if you click them and make a purchase we may receive a small percentage of the sale. Please read our FTC Disclosure for more information.
I’ve followed the installation process, but the sticks and/or buttons don’t work
Chances are you’ve just got one of the steps wrong. Don’t panic!
Go back through the process again step-by-step until you identify the issue. You may have forgotten to connect one of the ribbon cables, or maybe it hasn’t been pushed in far enough.
Unless you completely break one of the components, all of the steps detailed are reversible.
So, what if I completely break something?
Well, as we said earlier, if you’re not confident about disassembling your Joy-Con 2, then don’t do it. Seek out a professional to help you.
Although the process is easier than we had anticipated (though still terrifying), things can still go wrong. It’s fiddly, and messing around with a bunch of ribbon cables can be tricky.
If your original sticks don’t work, buying a new set of Joy-Con 2 or Switch 2 controller is a completely viable (if expensive) option. Remember, too, that you can contact Nintendo directly for repairs if your Joy-Con are still under warranty.